Part 2 – Installing VMware Horizon
In the second part of this article, we will focus on the details and procedures involved in installing VMware Horizon, a key technology component used by the Monetrax organization in their quest for innovation and efficiency by optimizing their operations, increasing mobility and security.
The environment in which VMware Horizon will be installed for Monetrax is as follows:
| Name | Role | IP |
| MON-DC-01 | Domain Controller & DNS Local domain name: monetrax.corp | 10.10.20.10 |
| MON-DCHP-01 | DHCP server | 10.10.20.253 |
| MON-CA-01 | Certification Center | 10.10.20.11 |
| MON-TS-01 | Administrator station with Windows 10 | 10.10.20.20 |
| MON-CS-01 | Connection server VMware Horizon | 10.10.20.12 |
Installing the Connection Server
The first and most important component of Horizon is the Connection Server, it is the central place to manage our virtual desktop and application infrastructure. Connection Server acts as an on-call traffic controller, directing users to the appropriate resources.
The installation file can be downloaded from the VMware website https://customerconnect.omnissa.com/, after downloading the file, run the exe in the case of Horizon 2309 version it will be named VMware-Horizon-Connection-Server-x86_64-8.11.0-22629722.exe
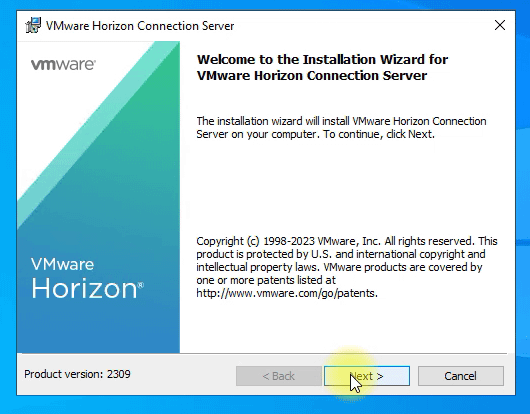
The installation is not complicated, after running the file you will be greeted by a screen with information, the version you are installing is also visible, select Next
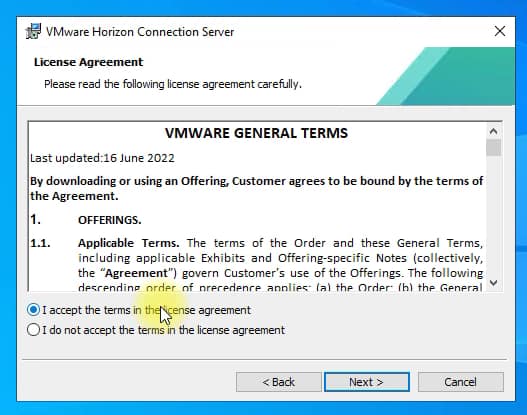
The next step is to accept the license:
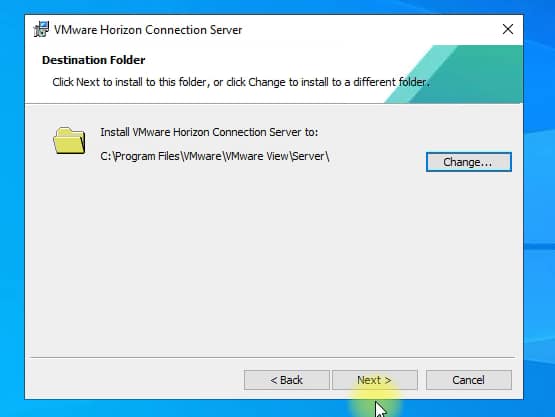
In the next step you can customize the installation path, but it is best to leave the default one:
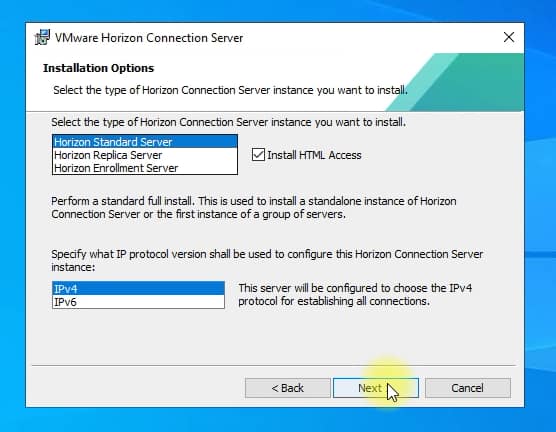
The next step is to select the installation options, what these options mean:
- Horizon Standard Server – this is the installation of the basic server, during the installation the ADAM database will be created, where all Horizon configuration will be stored,
- Horizon Replica Server – this is the installation of another server, during the installation the data will be replicated from the indicated Standard Server,
- Horizon Enrolment Server – this is an option to install a server that will allow you to use the so-called True SSO in your environment, but more on that later.
- In addition, there is also an option to select Install HTML Access, this is an option that installs the ability to access virtual desktops and applications through a browser that supports HTML5.
As the first connection server is being installed in the organization, the first option has been selected, in addition, the component for access via HTML will be installed:
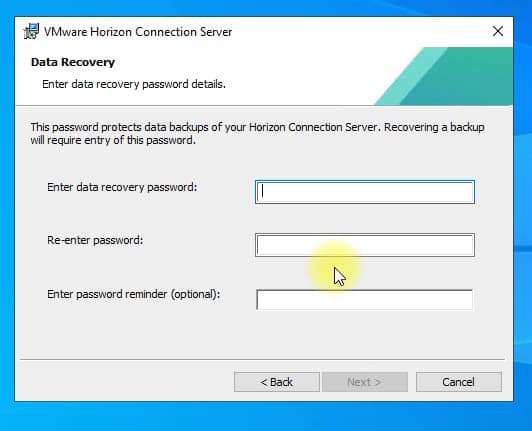
The next step is to set a password to retrieve the configuration, it should be saved in a safe place, as you may need it in case of failure or problems:
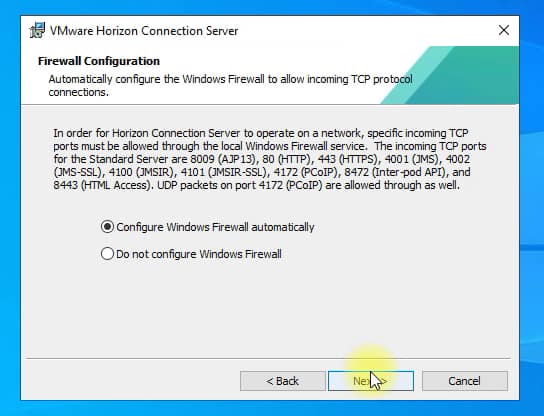
The installer can make automatic entries in the windos firewall, I recommend leaving the option to automatically add these entries:
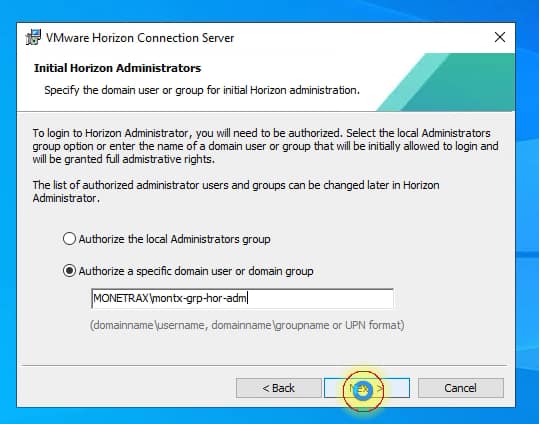
The next step to pay attention to is the administrator group that will be given access to the management panel after installation. Of course, another group will already be added from the admin panel. In the case of the Monetrax organization, this is a group named montx-grp-adm-hor:
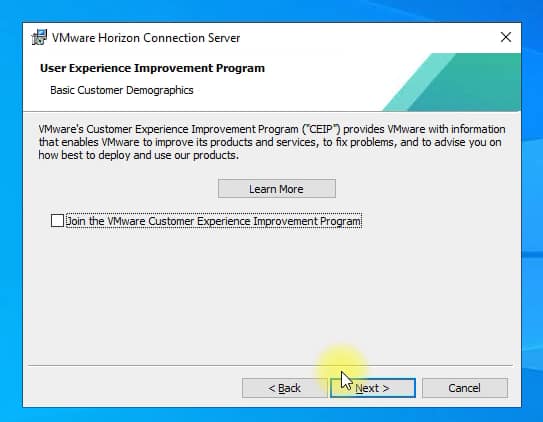
In the next step there is a question about joining the product quality improvement program, we uncheck these options:
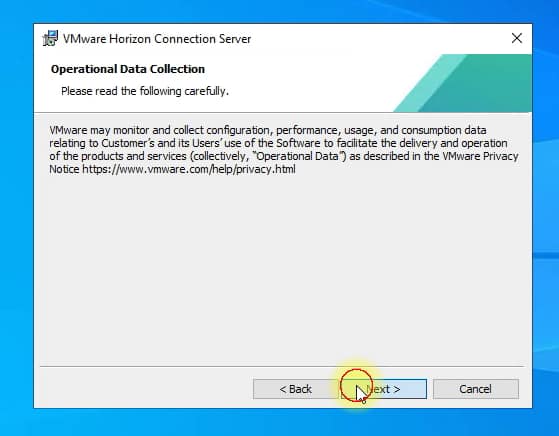
The next step is information:
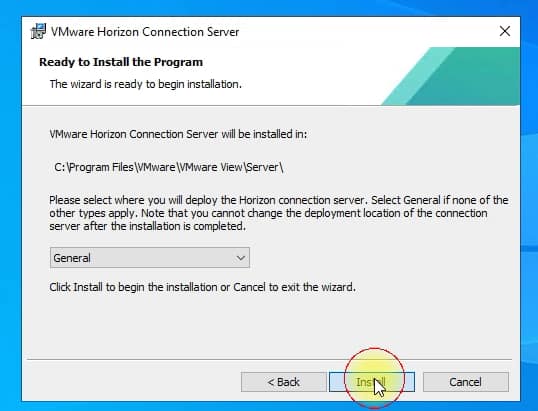
In newer versions VMware allows you to indicate whether it will use Horizon using public clouds, in this case we leave the options General, after selecting Install the installation will begin:
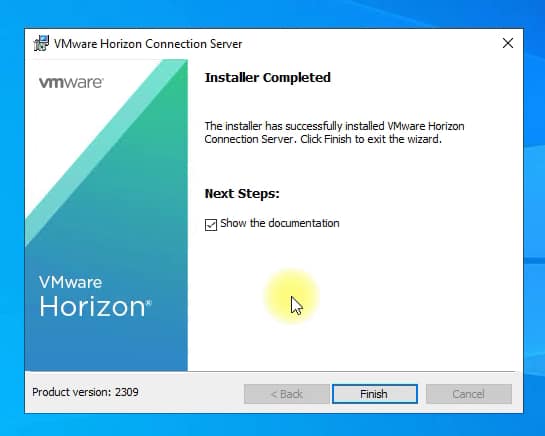
After installation, a message will be displayed that the operation was successful:
Phew, you have successfully installed the basic Horizon server, but what next?
Replacing the certificate with one from the local CA
The first step is to replace the certificate with one issued from the local CA, by default the installer generates a self sign certificate.
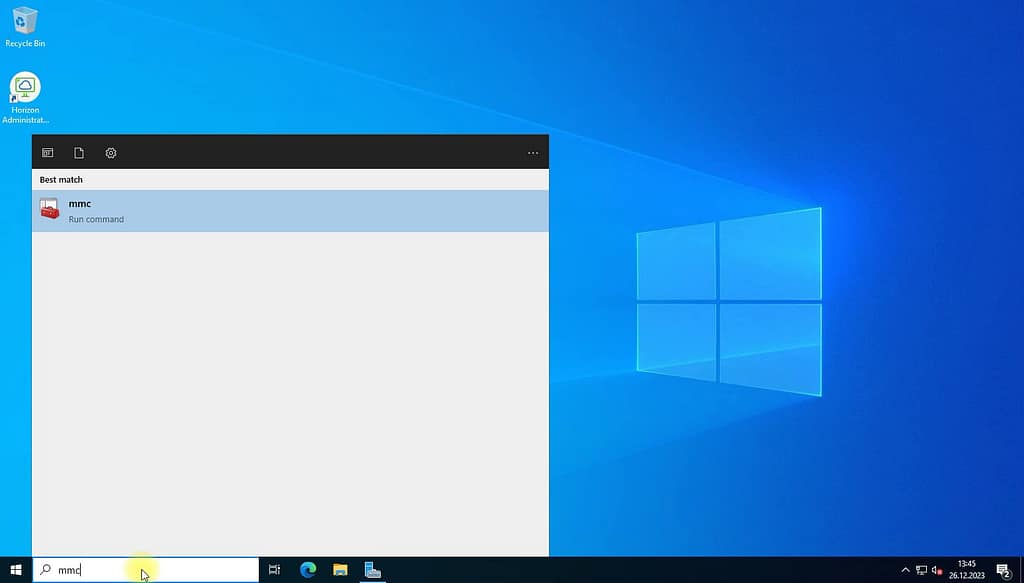
To do this, start the MMC attachment on the connection server, just select start and type mmc:
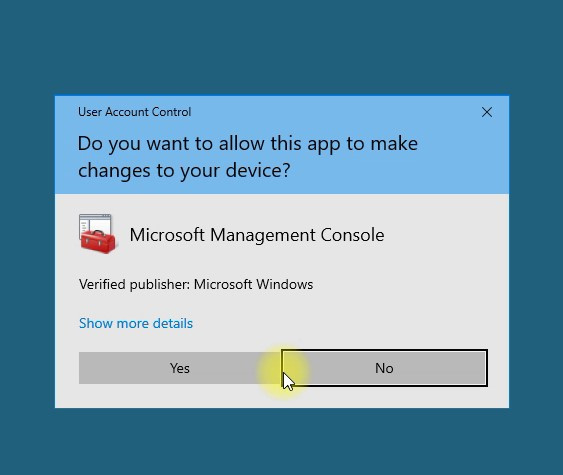
Confirm:
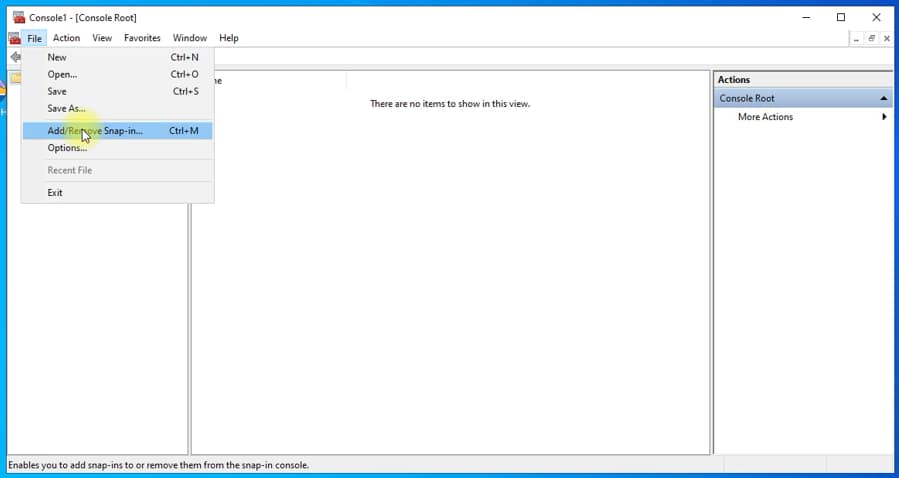
In the console window, select File and then Add/Remove Snap-in:
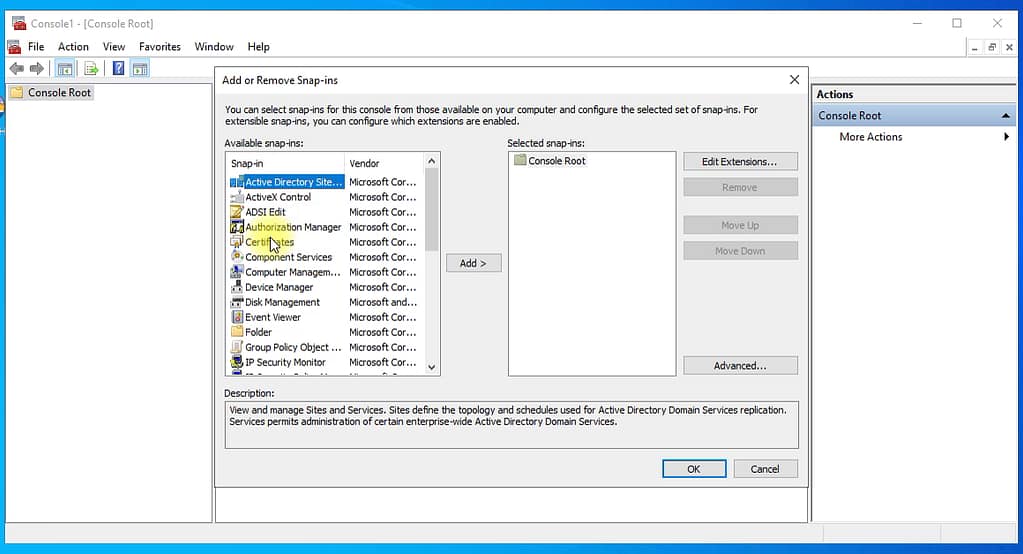
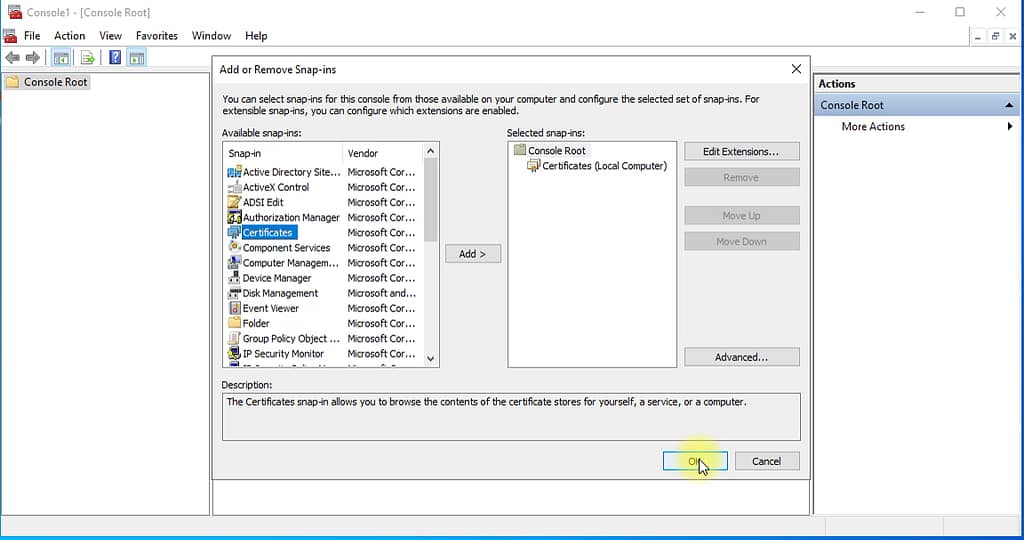
In the window that appears, select Certificates by double-clicking:
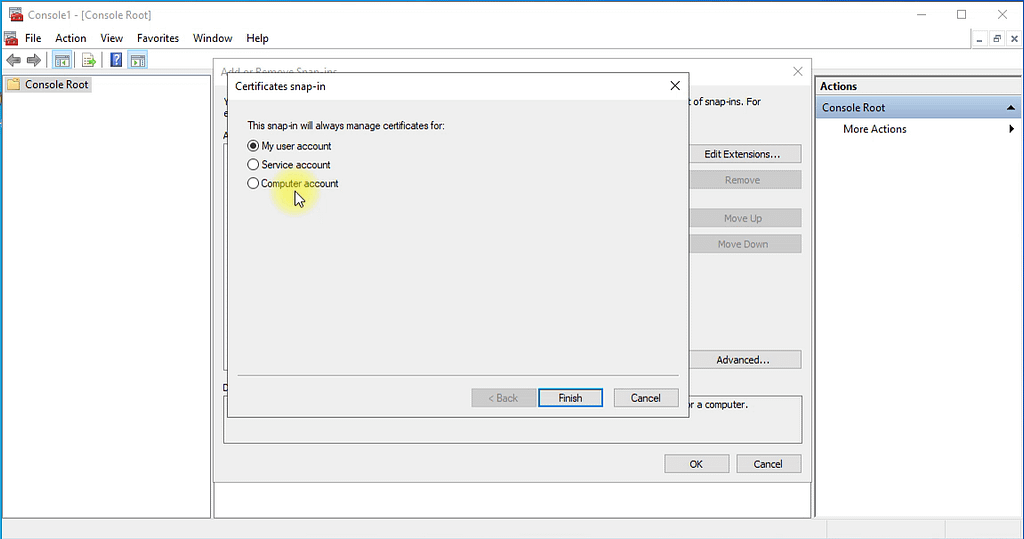
Then select Computer account:
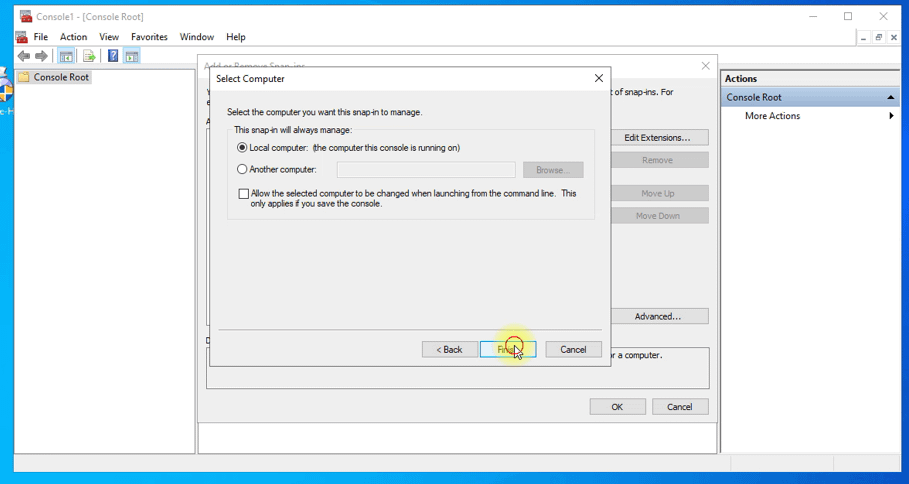
And Local computer:
Finally, confirm by selecting OK:
On the left side, expand the Personal folder, and then Certificates:
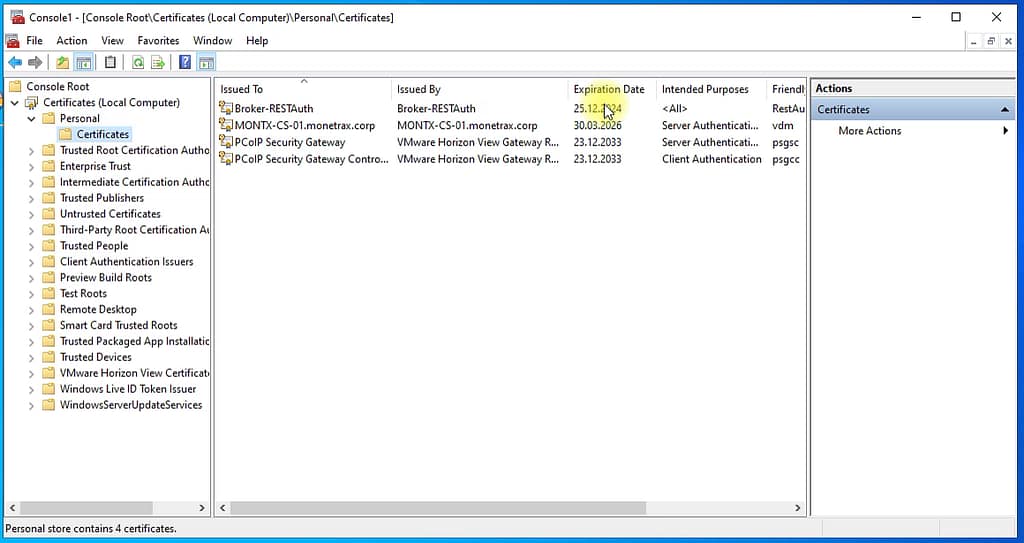
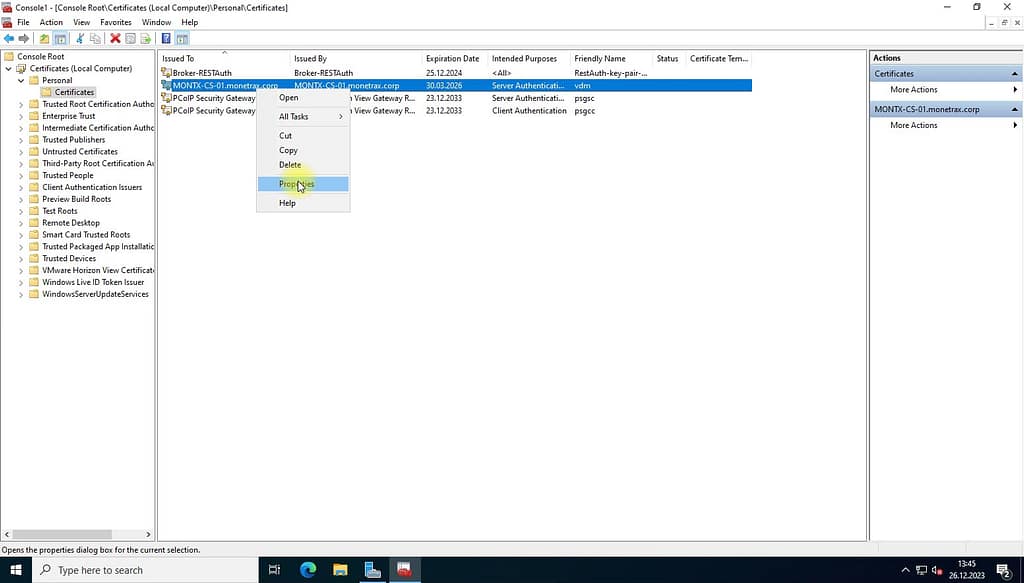
Select the certificate that has vdm written in the fifth column of the Friendly name, and then by right-clicking select Properties from the menu:
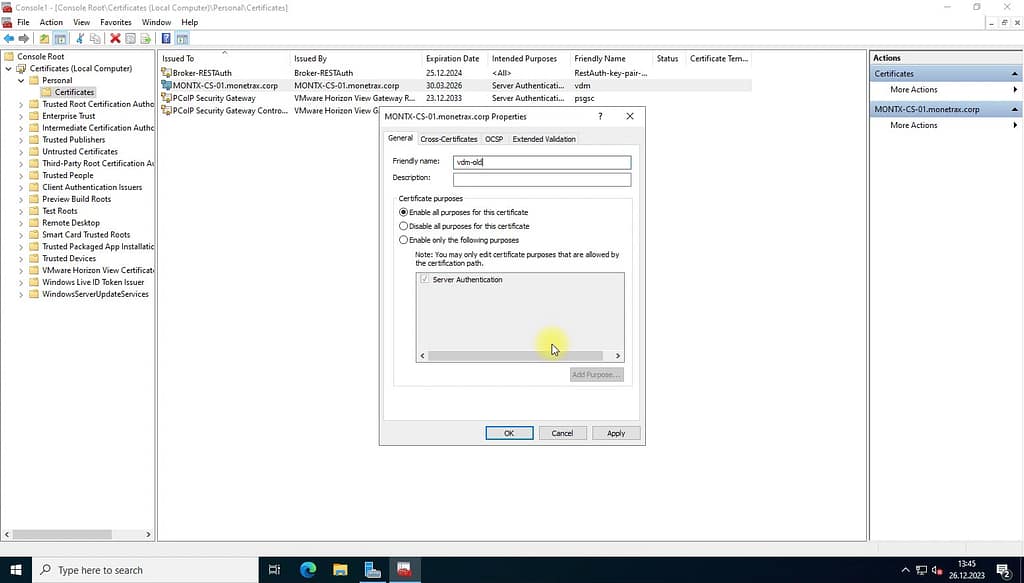
In the dialog box that opens, add old to the vdm name, e.g. vdm-old. Select Apply and then OK:
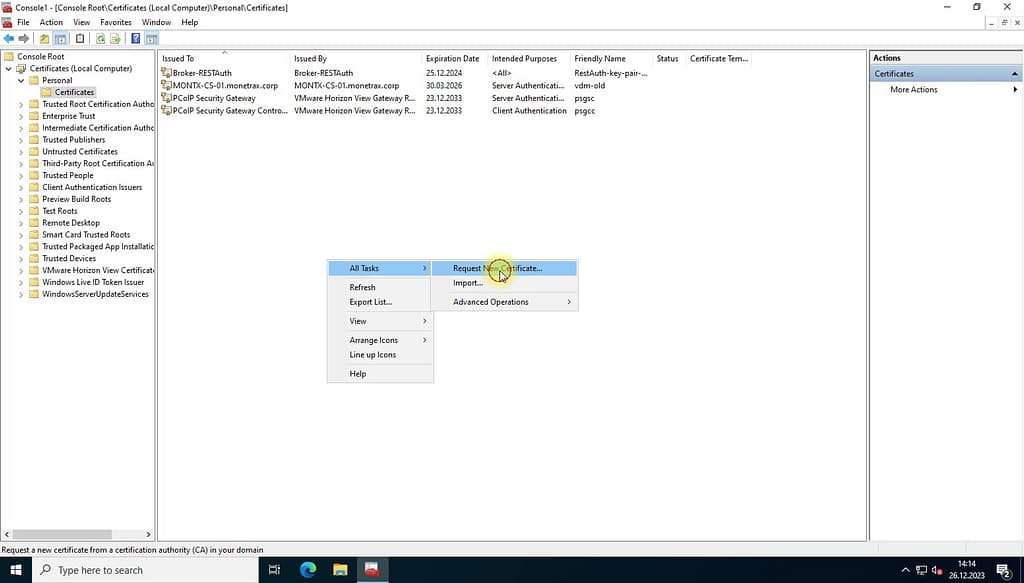
The next step is to issue a certificate from the local CA, to do this, right-click in the mmc console and select Request New Certificate:
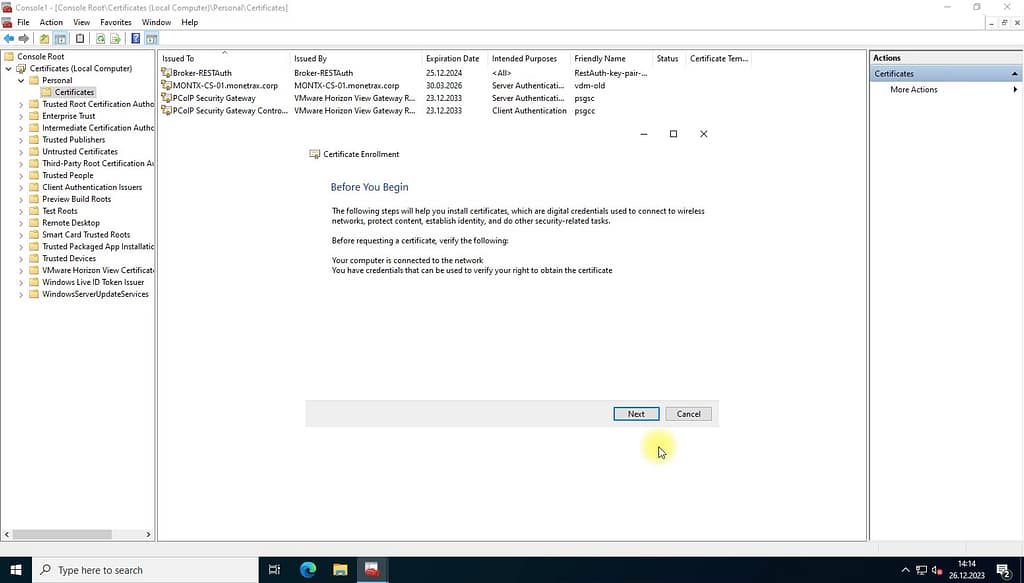
In the welcome window, select Next:
Next again:
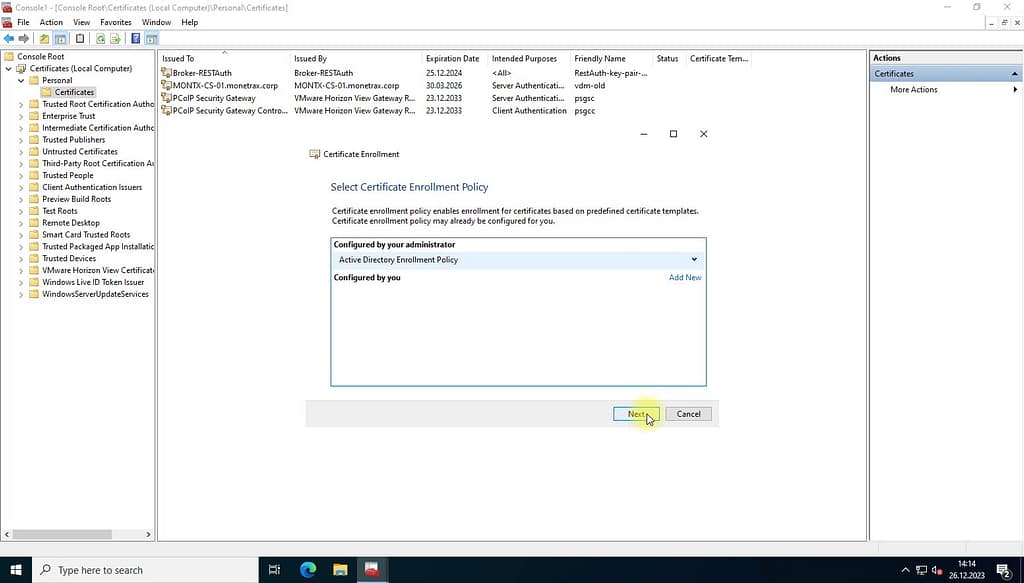
In the next window select the template you will use to issue the certificate, in this case MONTX-AutoServer, and then Enroll:
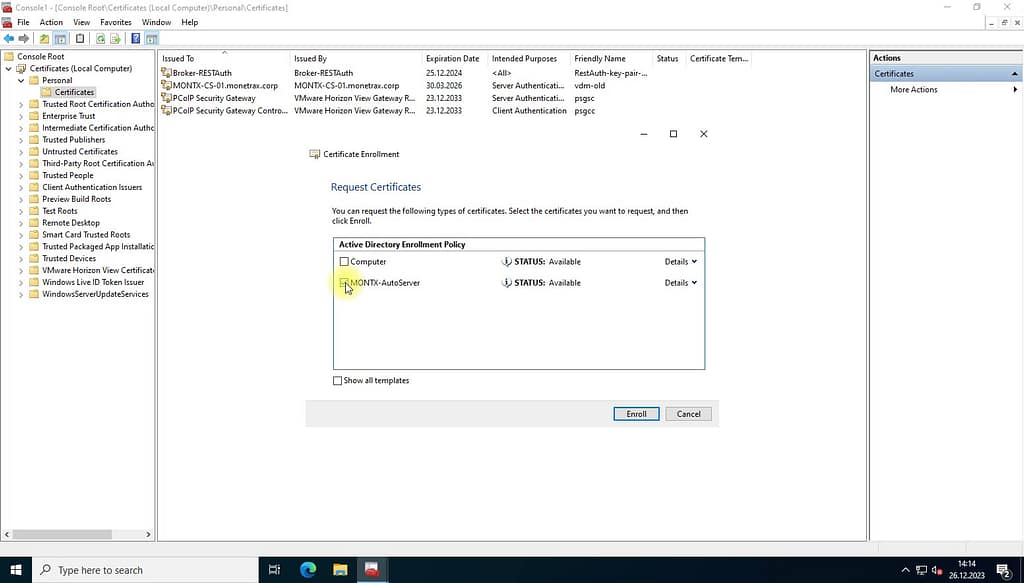
After a while, a window will be displayed confirming the issuance of the certificate:
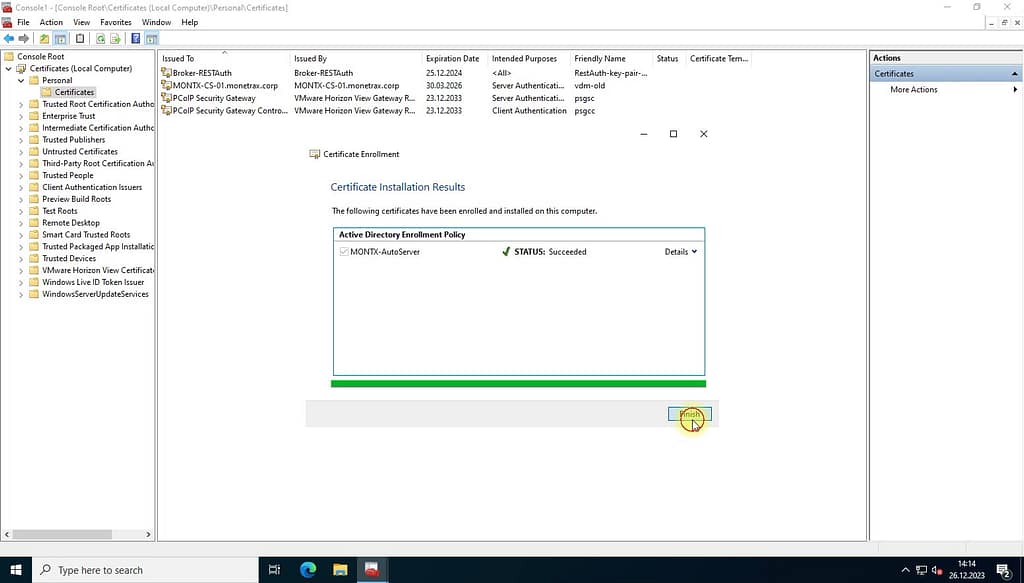
The next step is to give a vdm name for the new certificate, select the certificate and choose Properties:
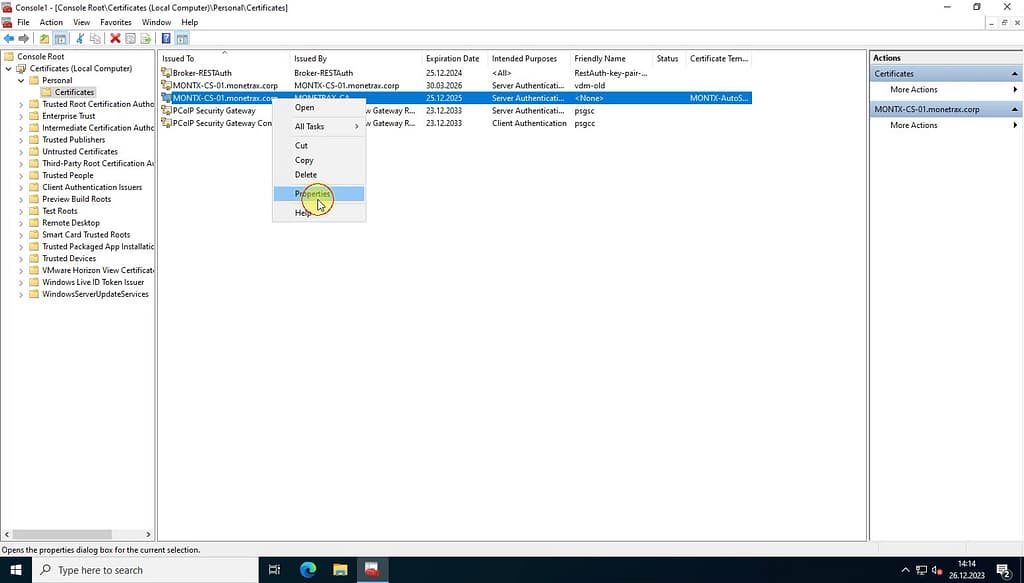
Enter the vdm name in the properties window, then Apply and OK:
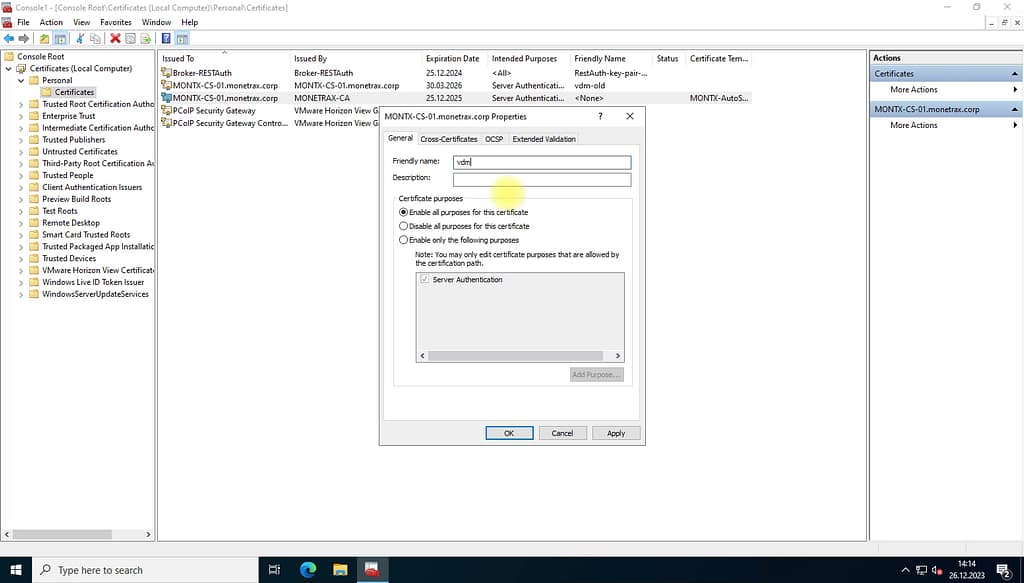
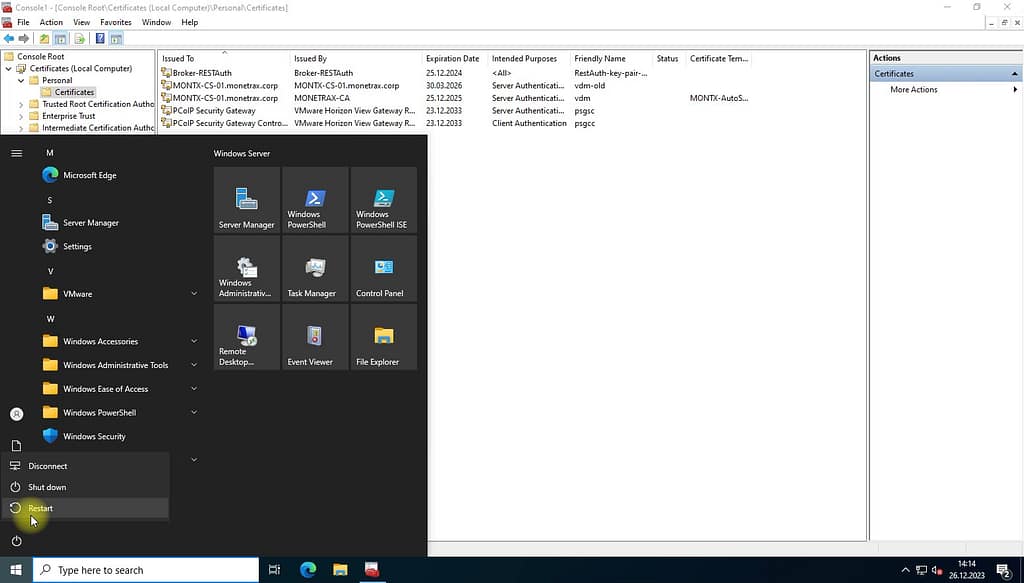
After this operation, restart the server:
First login and licence entry
After restarting the server, launch a web browser and enter the server’s connection address, in this case https://montx-cs.monetrax.corp/admin A login window to the administrator panel will appear:
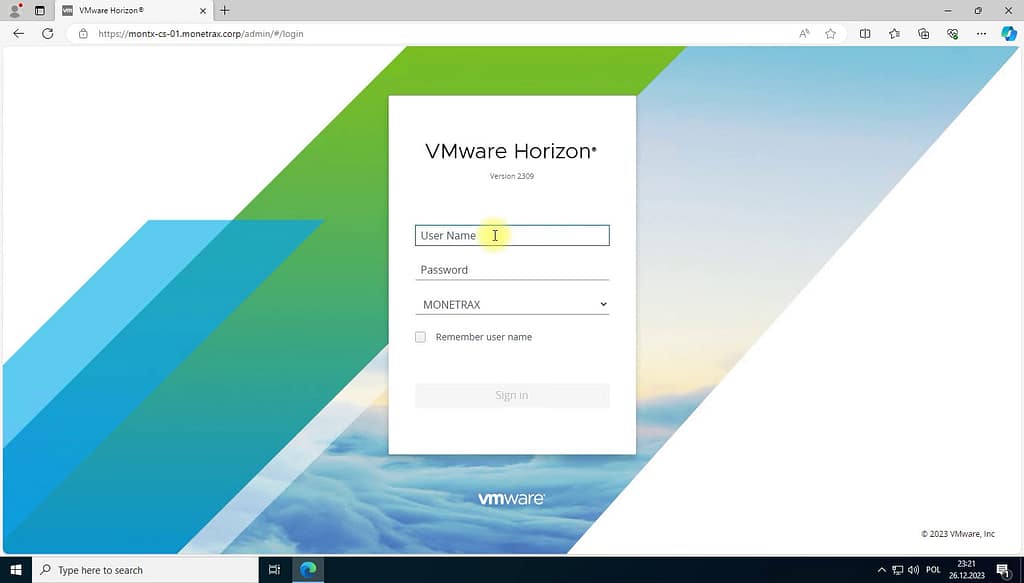
You should log in with the account from the group that was indicated during the server installation.
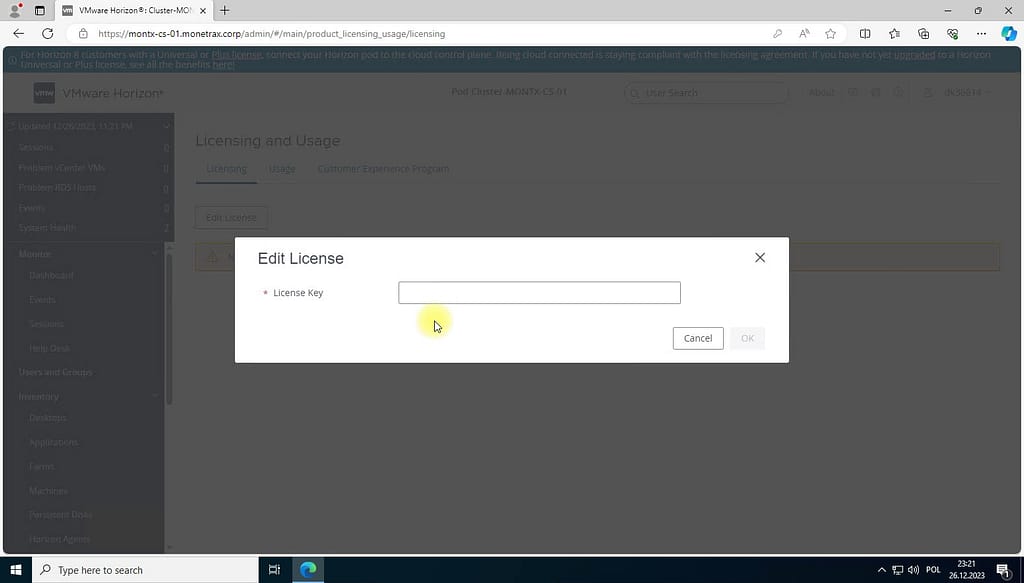
The first time you log in, you will be prompted to enter a license for VMware Horizon:
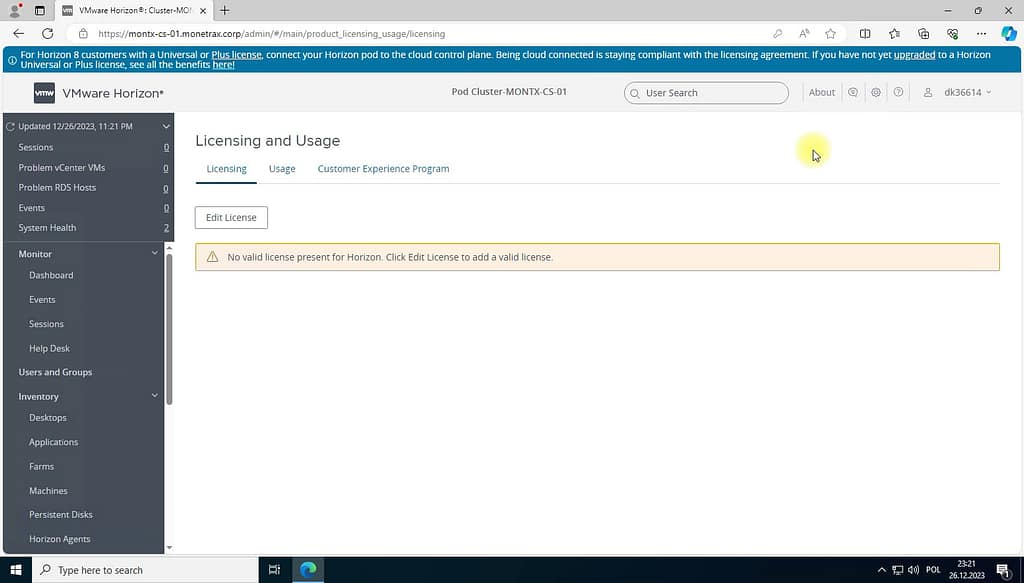
Select Edit License, a window to enter the license will appear:
Adding the vCenter server
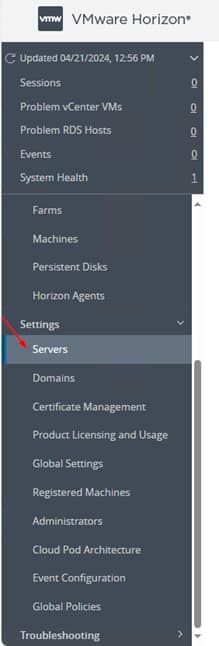
After entering the Horizon license, the next step is to configure vCenter in the settings, go to Servers in the left menu for this purpose.
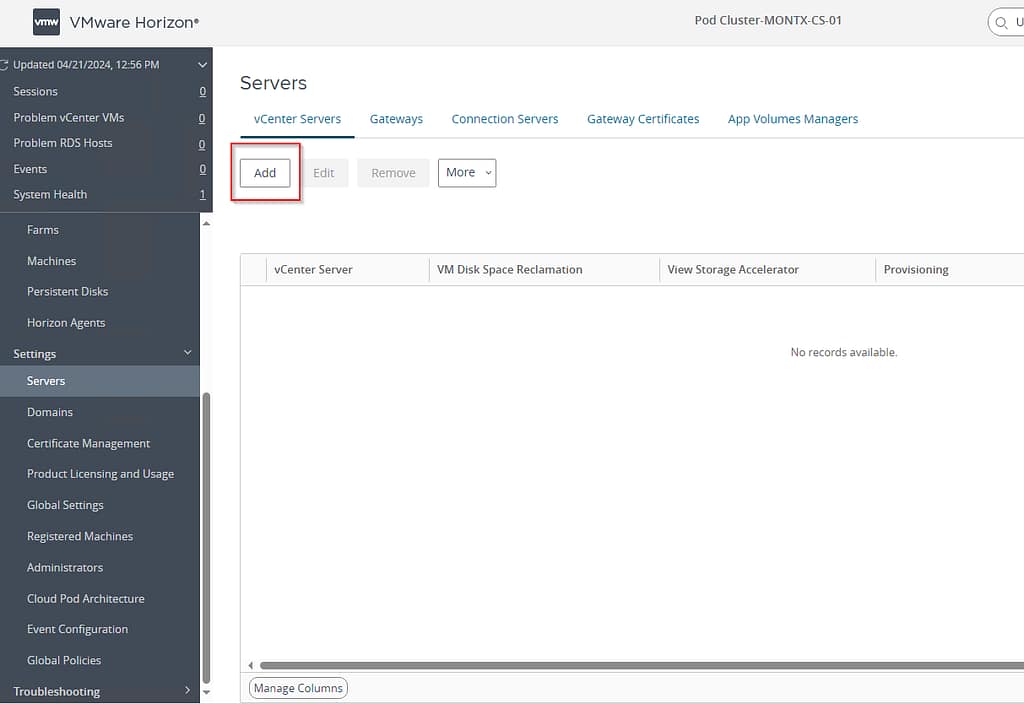
Select the Add button, which will open the wizard
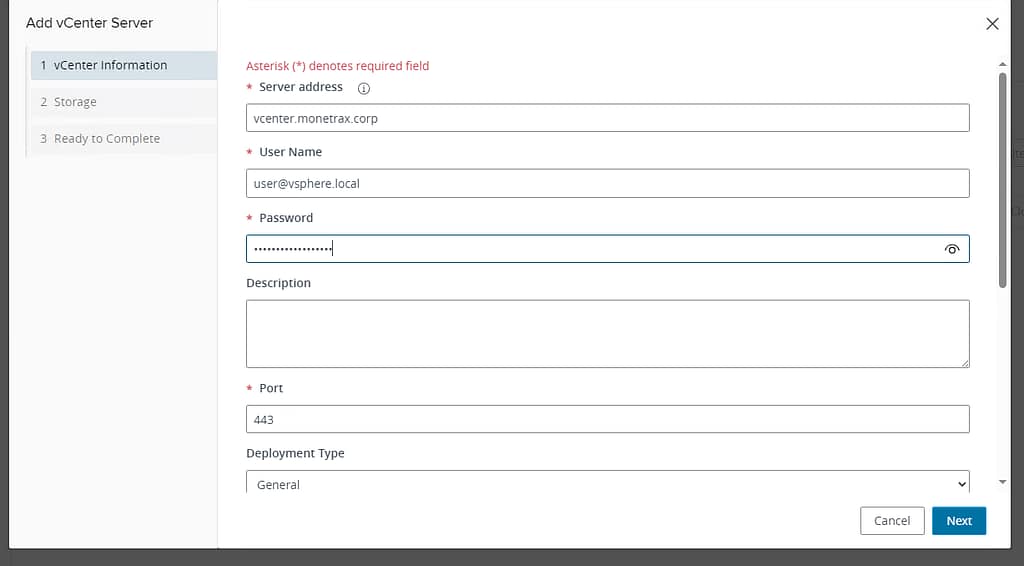
In the Add vCenter window, you need to specify:
- The address of the vcenter server in the form of FQDN or IP,
- User name in the form of [email protected] (must have the appropriate permissions),
- Password,
- Port ( 443 by default),
- The rest of the parameters can be left default.
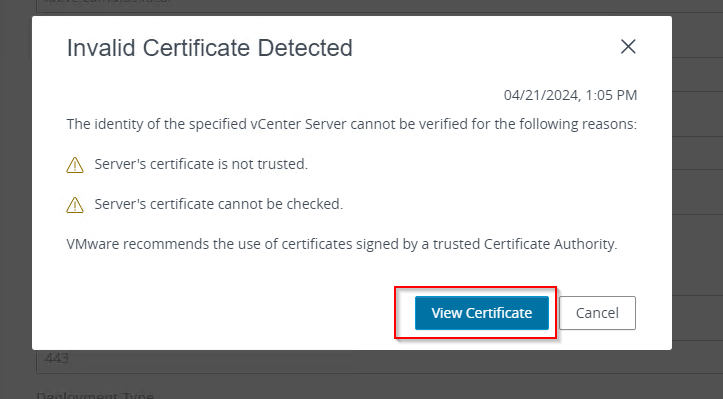
If a certificate message appears, select View Certificate
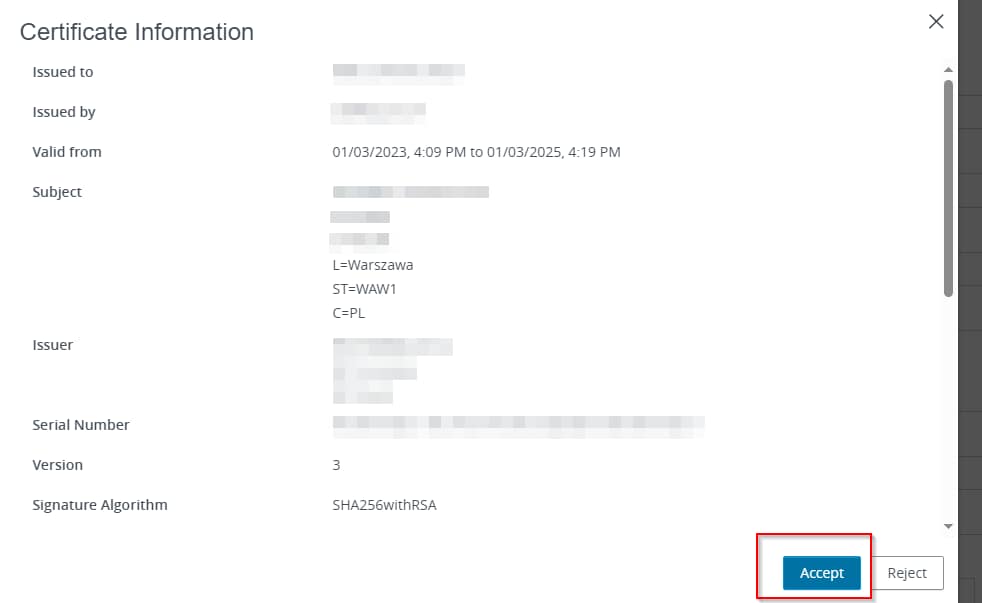
A window with certificate details appears, accept the certificate by selecting Accept
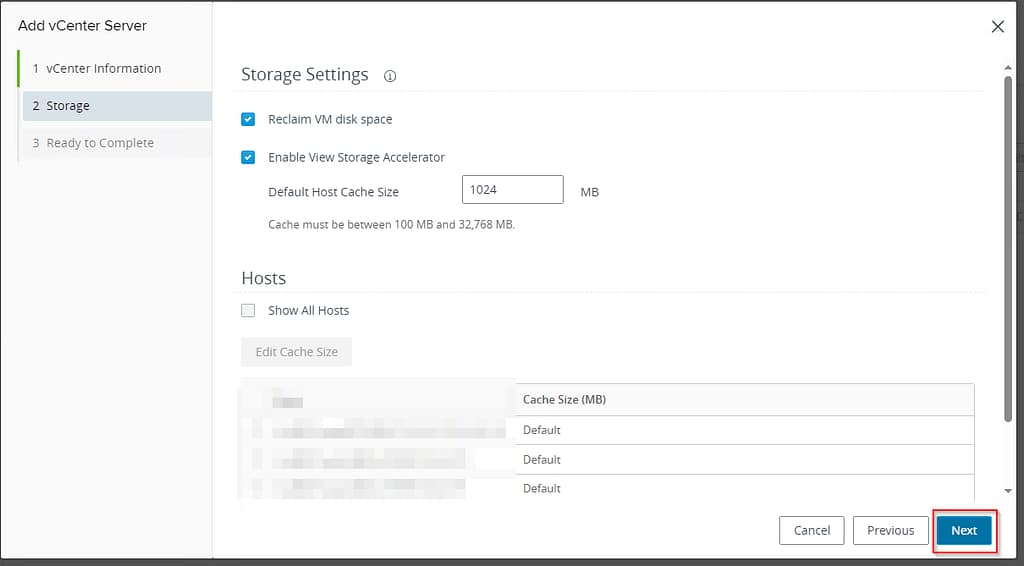
In the next step, you can move on by selecting Next
Finally, a summary window will appear, select Submit
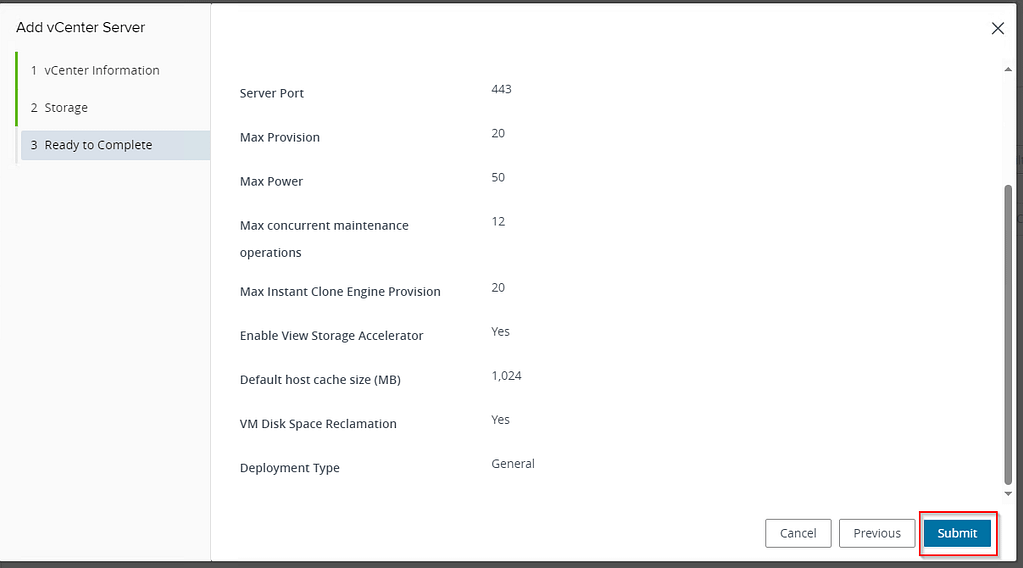
Done, vCenter has been added to Horizon.
Domain account for managing machines
The next step will be to add a domain user who has permission to manage the OU in which we want to create our machines. According to the https://docs.vmware.com/en/VMware-Horizon/2312/horizon-installation/GUID-E91881F4-F8C0-48A5-A1A4-61577E287E29.html documentation, the user must have the following permissions:
- List Contents,
- Read All Properties,
- Write All Properties,
- Read Permissions,
- Reset Passwords,
- Create Computer Objects,
- Delete Computer Objects.
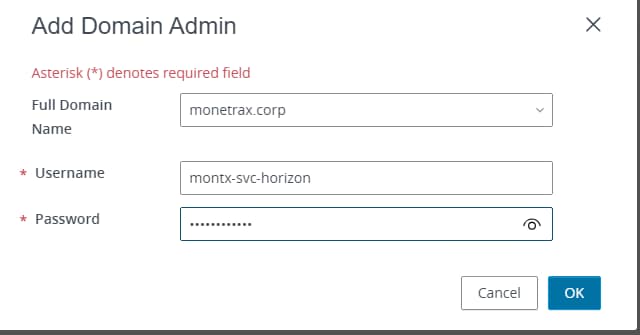
The AD Monetrax administrator created an OU named Horizon under the Devices OU, and then created two more OUs under the Horizon OU – VDI and RDSH. A user named montx-svc-horizon was created and given permissions as above for the Horizon OU and its descendants.
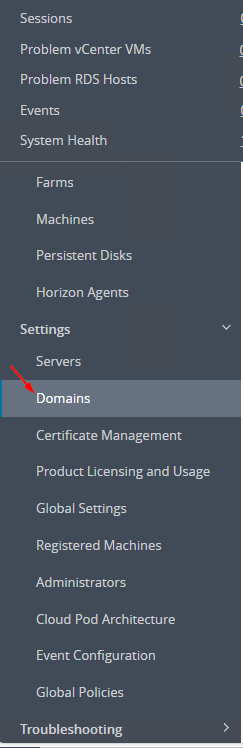
After configuring AD, you need to configure this user in Horizon, to do so go to the option on the left named Domains.
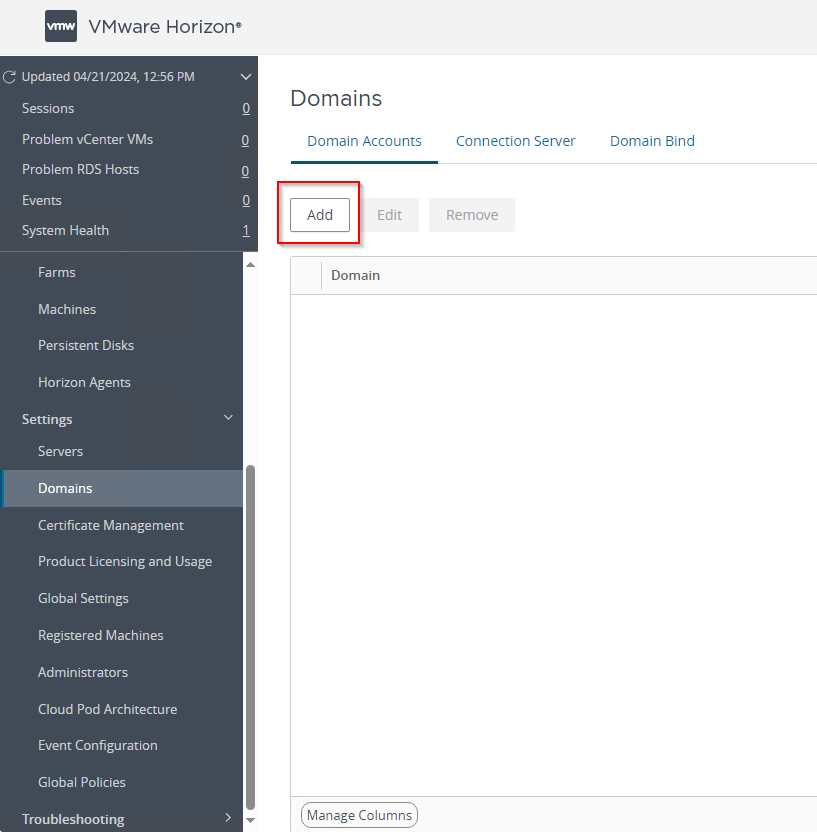
In the next step, select Add
In the next window, enter the name and password of the corresponding user
Configuring the event database
The last step of the basic post-installation configuration is to indicate the event database, this is not mandatory, but it certainly helps in collecting and storing information . VMware provides a choice of two databases MS SQL and PostgreSQL.
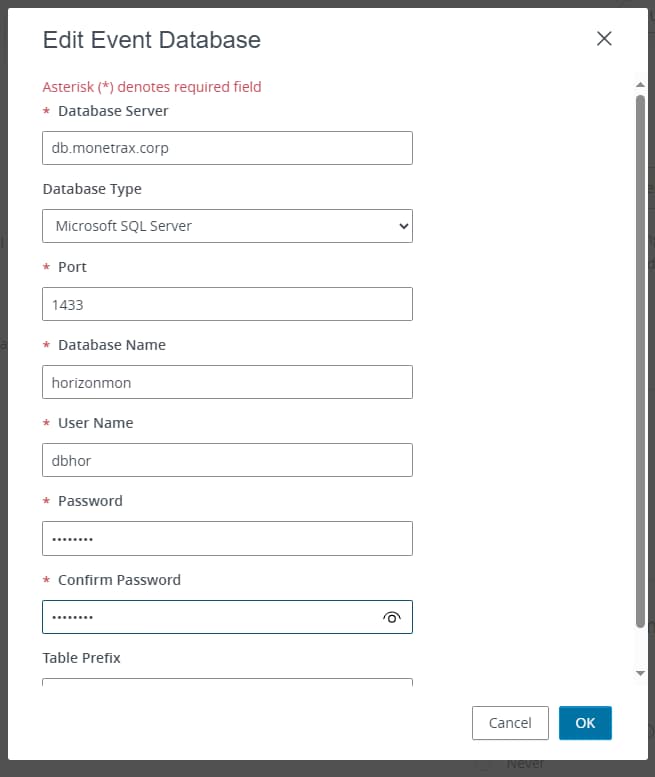
To configure the database from the menu, select Event Configuration and then in the Event Database section select Edit.
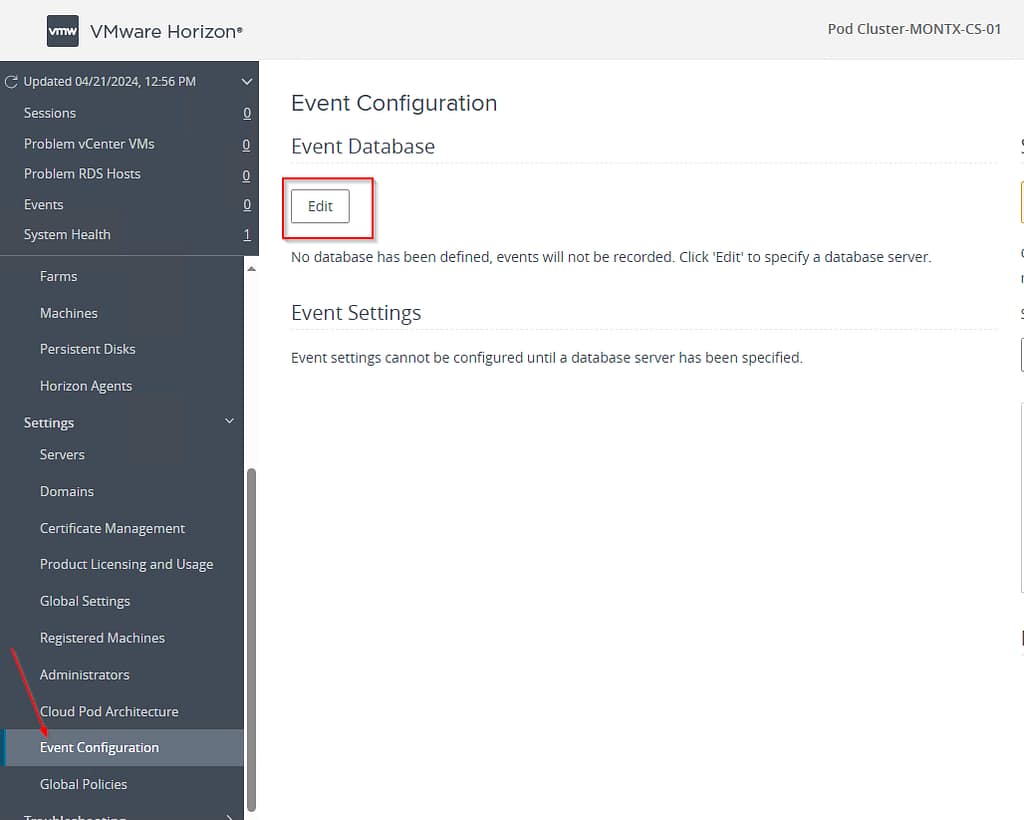
In the configuration window you need to enter SQL server data, user, password and database name, if you are using MS SQL this user must have the db_owner role on this database
Success! The post-installation configuration is now complete. The Horizon environment has been preconfigured. The next step is to prepare the golden image.
The full series
- Part 1 – Preparing the organisation for the deployment
- Part 2 – Installing VMware Horizon — you are reading this
- Part 3 – Windows 10 golden image and publishing a VDI pool
- Dynamic Environment Manager configuration
Leave a Reply